
RiskVision has provided many default questionnaires that can be used directly in a program to meet your assessment objectives. If the default questionnaires don't meet your needs, you can copy them into a custom-defined group under the Controls and Questionnaires group and modify the questionnaire details, as needed. If the default questionnaires will not produce effective results, you can create a custom questionnaire. However, we recommend testing the content thoroughly before deploying it. To create a new questionnaire, you must have Control View and Control Author permissions.
To create a questionnaire:
- Open RiskVision Policy Manager.
- Go to Content > Controls and Questionnaires.
- Expand the Organization Content folder, then click the Questionnaires group.
- Click New Questionnaire.
Enter a name and description, then click the Type dropdown list and select a questionnaire type.
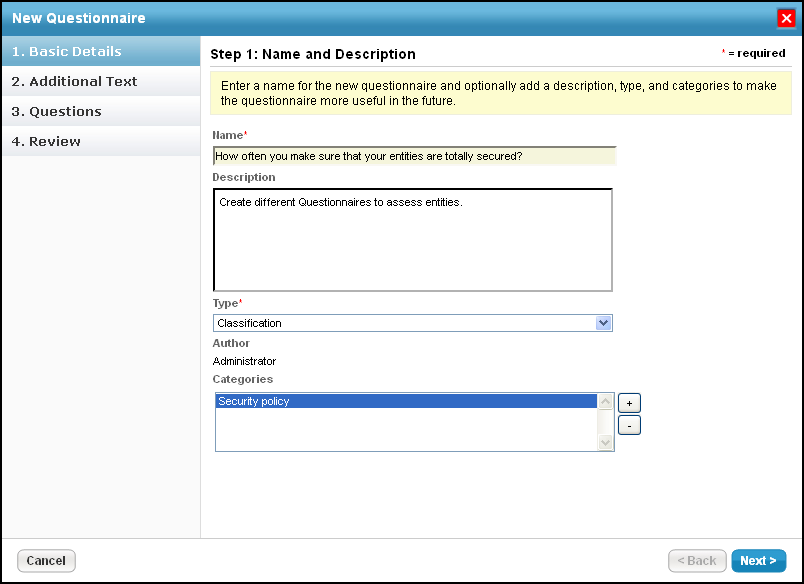 The Basic Details tab of the New Questionnaire wizard.
The questionnaire type will determine the pages you see in the New Questionnaire wizard. If you select Contract Awareness Campaign, you will see Contracts, Text, and Review. For Policy Awareness Campaign, you will see Policies, Text, and Review.
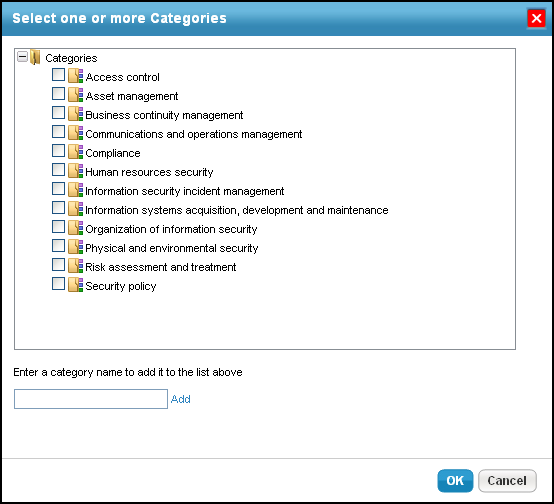
Optional: To assign a category to this questionnaire, click +. Click the checkbox for all desired categories, then click OK. If the default categories do not apply to the questionnaire you are trying to create, enter a category name, then click Add.
Click Next.
Expand the Organization Content folder and click the checkbox next to the policies you want to attest in the questionnaire.
Click >> to move the policies into the Selected Policies box.
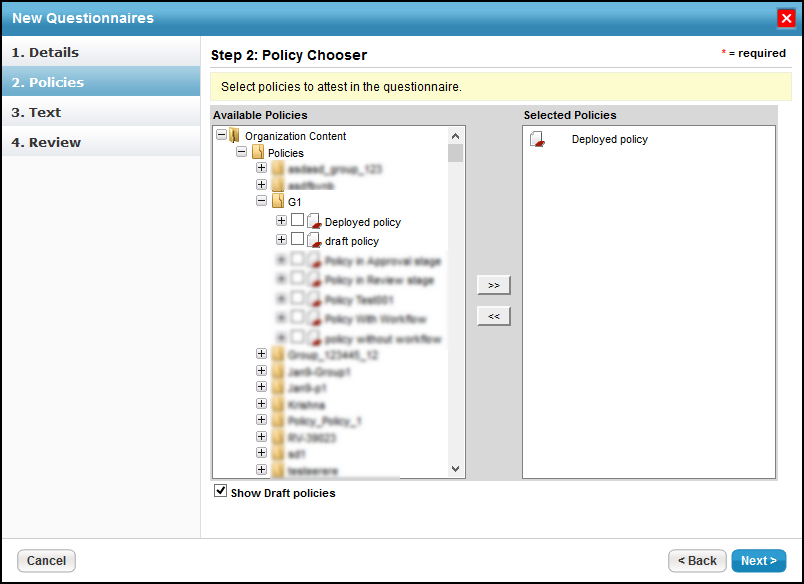
Click Next.
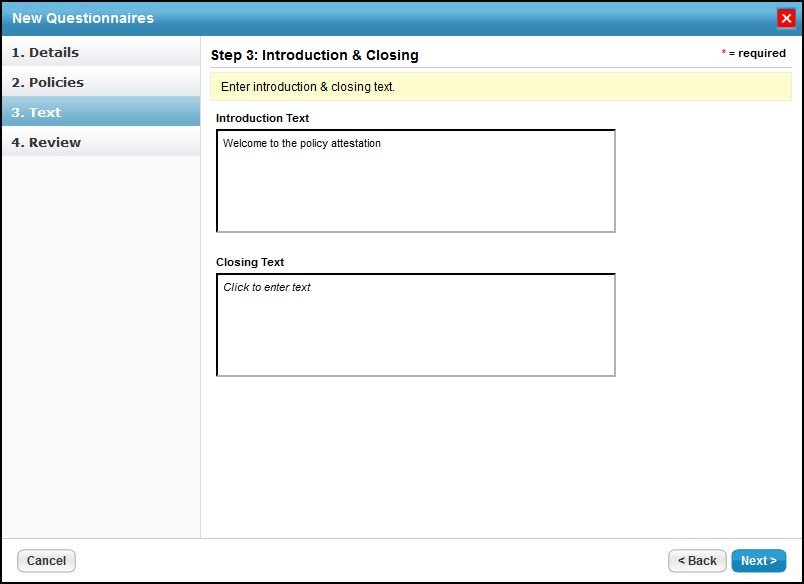
- Enter text in the Introduction Text field, which will appear at the beginning of the questionnaire, and the Closing Text field, which will appear at the end. For example, you can provide an explanation to stakeholders as to why they should answer the questionnaire. To enter text, click in the rectangle box area to open the text editor.
- Click Next.
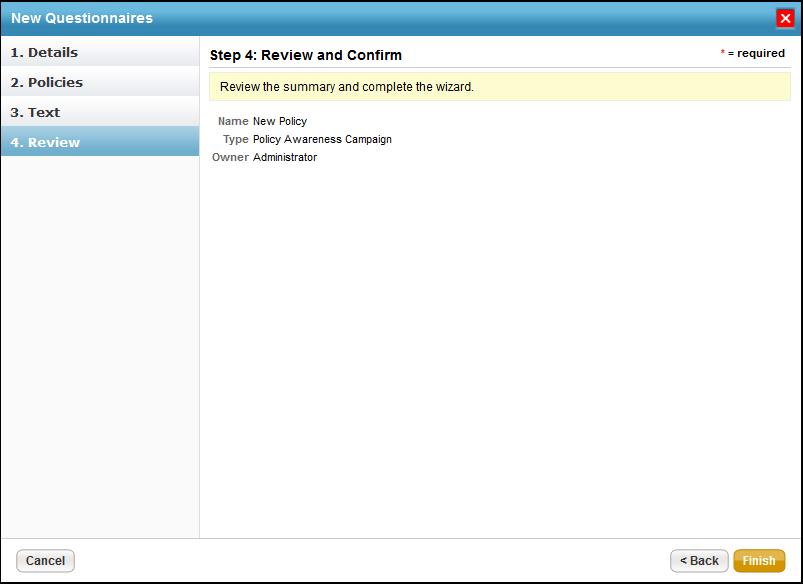
Verify the controls and the number of questions for a control. Click Back to navigate to the previous wizard pages if you have to make changes to the entered information. Click Finish when the information you have entered is correct.


The Add Risk If unselected, property is set to false, by default.
To change the Add Risk If unselected property to true:
- Navigate to the agiliance.properties file located at the \\server\config directory.
- Change the following property to true:
com.agiliance.risk.addToRiskWhenUnchecked.flag.show=true - Optional: If you want to be able to give a risk score for each choice, add the following property to the agiliance.properties file:
com.agiliance.risk.useClassificationSurveyRisk=true

