
The Exception Management Preferences page is where users with the Exception Manage permission can view all of the workflow statuses an exception can be set to. In addition, users can create new statuses as well as delete ones that have gone obsolete. Users can set new approved statuses on this page as well.  The Exception Management Preferences page.
 | After upgrading to RiskVision version 9.5 or higher, each RiskVision instance must have at least one approved status mapped before performing any action in Riskvision. New installations at version 9.5 or higher will have a default mapping already provided that can be changed if desired. |
| After upgrading to RiskVision version 9.5 or higher, the user must run the Rebuild Grouping Cache job. Otherwise the risk scores in a vulnerability's Affected Entities tab will not display properly. |
To add a new exception status value:
In any RiskVision application, navigate to Configuration > Exception Management Preferences.
Click Edit to open the Edit Exception Management Preferences page.
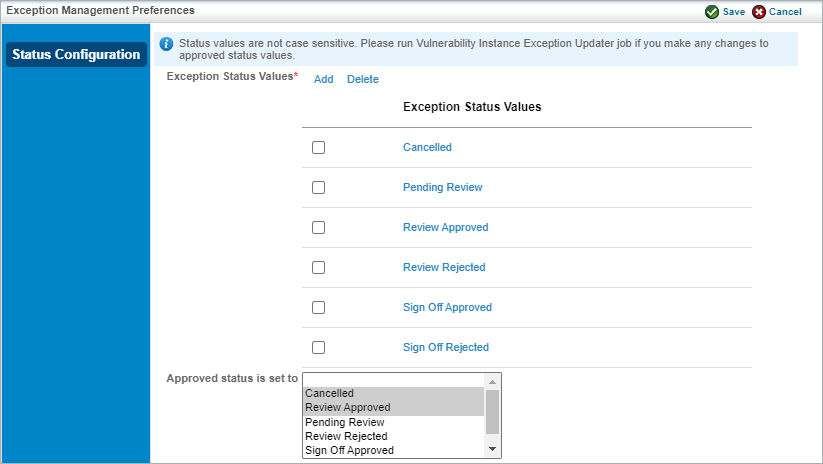 The Edit Exception Management Preferences page.
Click Add to open the Add Exception Status Values dialogue.
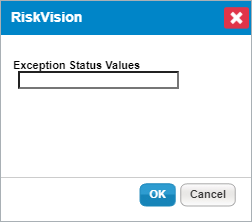 The Add Exception Status Values dialogue.
Type the name of the new status value and click OK.
Repeat steps 3 and 4 as many times as required and click Save.


To delete exception status values:
In any RiskVision application, navigate to Configuration > Exception Management Preferences.
Click Edit to open the Edit Exception Management Preferences page.
 The Edit Exception Management Preferences page.
Select each exception status value to be deleted and click Delete.
Users cannot delete an exception status value that is being used in the current or previous statuses of a workflow (whether or not it is being used by an exception), or that is selected in the Approved status is set to field. Those statuses must first be deleted from their respective workflows. If the workflow in question is being used by an exception, it must be deleted from it first. Click Save.

To set a new approved status:
In any RiskVision application, navigate to Configuration > Exception Management Preferences.
Click Edit to open the Edit Exception Management Preferences page.
 The Edit Exception Management Preferences page.
Scroll down to the Approved status is set to field and click on any status you wish to have mapped to Approved. Hold the Ctrl key while you click to select multiple statuses. Any value(s) you select to map to an approved status value will result in risk reduction taken against the object an exception is applied to when an exception possesses those status values.
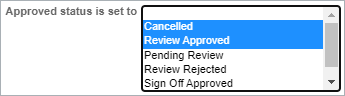 The Approved status is set to field.
Click Save.


If the newly set approved status values relate to vulnerability exceptions, you will need to run a job to recalculate all approved vulnerability exceptions. Running this job requires a user to be a RiskVision administrator. To run this job, see the following steps:
Log on with an administrator account.
Open the Administration application.
Navigate to Administration > Scheduled Jobs.
Select the Vulnerability Instance Exception Updater job and click Run.
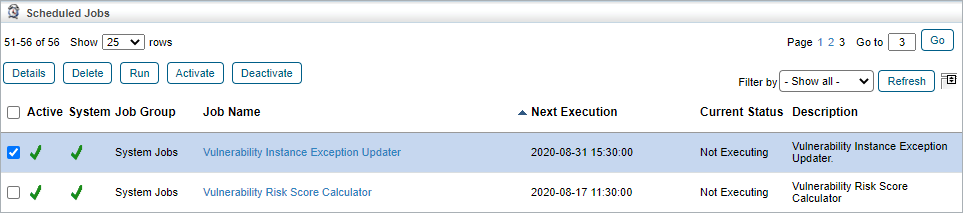 The Vulnerability Instance Exception Updater job.


