
If you want to install the JasperReports Server on its own server, you will need to complete some additional configurations.
To install the JasperReports Server on its own server:
- Copy the following files to the server where JasperReports Server will be installed.
File MySQL Oracle riskvision.license 
RiskVisionApplicationServerInstallation.exe TIB_js-jrs_7.9.0_windows_x86_64.exe jce_policy-8.zip Riskvision-part1.zip Riskvision-part2.zip Riskvision-part3.zip JasperReports Server 7.9 cannot be installed on a Windows 2019 OS server. The user must install Microsoft Visual C++ 2015 Redistributable (x64) first. - Double-click the
RiskVisionApplicationServerInstallation.exefile to launch the RiskVision Server Setup wizard. - Click Next.
- Click I accept the terms in the License Agreement, then click Next.
Check the Report Server (TIBCO JasperReport Server) checkbox.
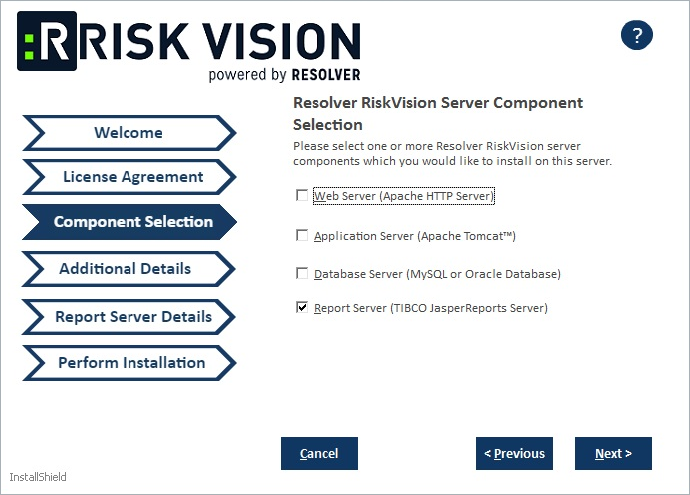 The Component Selection section of the setup wizard.
Click Next.
- Select one of the following options:
- MySQL database:
- Click the MySQL 5.7.26 radio button to install the MySQL database.
- Click the Application Server Hostname field and enter the hostname or IP address of the server where the Tomcat application server is installed.
- Click the Database Server Hostname field and enter the location where the database server is installed.
- Click Next.
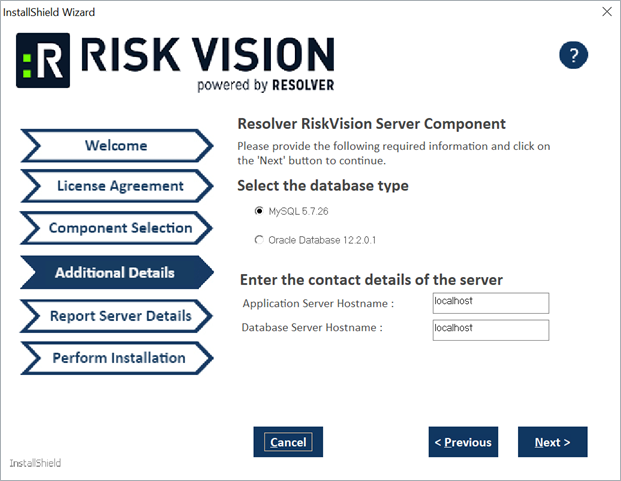 The Additional Details section of the setup wizard.
- Oracle Database:
- Click the Oracle Database 12.2.01 radio button.
- Click the Application Server Hostname field and enter the hostname or IP address of the server where the Tomcat server is installed.
- Click the Database Server Hostname field and enter the hostname or IP address of the server where the database server is installed.
- Click Next.
- MySQL database:
- Complete one of the options below:
- MySQL database:
Click the Application Server IP Address field and enter the location of the application server IP address.
Click the Report Server Hostname field then enter the location of the report server hostname.
Enter a password for the report user in the ReportUser Password field and reenter the same password in the Confirm ReportUser Password field. You will need to input the password again in the database.
In the Database Port field, enter the database port number.
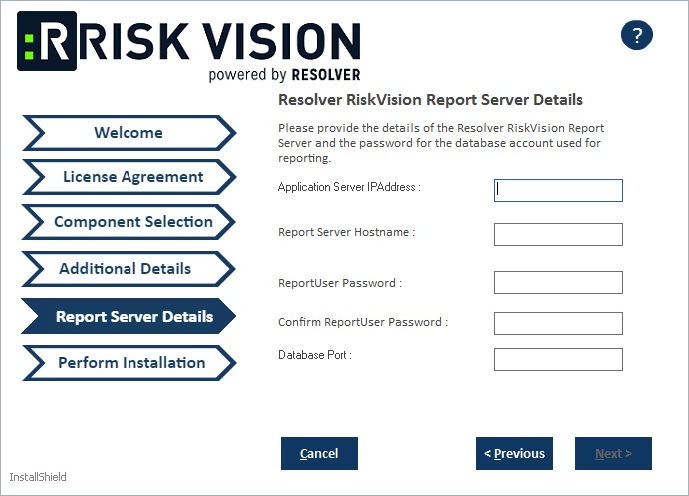 The Report Server Details section for the MySQL database.
Oracle Database:
Enter the application server IP address in the Application Server IP Address field.
Click the Report Server Hostname field and enter the location of the report server host name.
Enter a password for the report user in the ReportUser Password field andreenter the same password in the Confirm ReportUser Password field. You will need to input the password again in the database.
Enter the database port number in the Database Port field.
Enter the Oracle service name in the Oracle Service Name field.
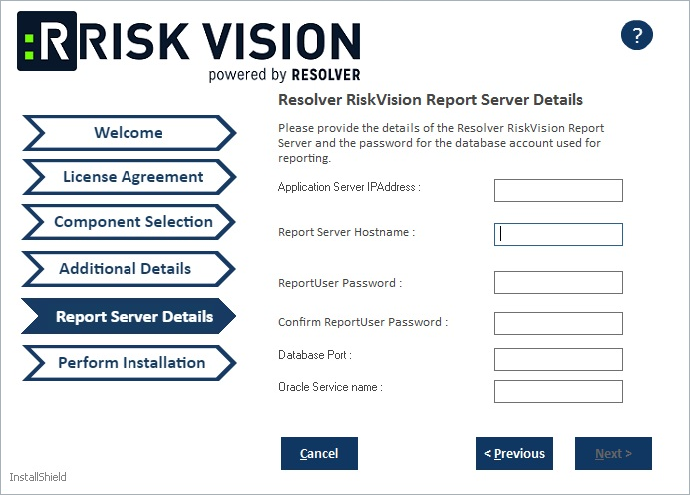 The Report Server Details section for the Oracle Database.
- MySQL database:
- Click Next to open the Begin Installation wizard. If the server where you are currently running the installer does not meet the system and hardware requirements, the Disclaimer page will open. Continuing the installation without proper hardware could severely affect performance. Refer to the Minimum Hardware Requirements page for more information. To disregard the Disclaimer page, click Accept, then click Next.
- Optional: Click Browse to change the installation path. By default, the MySQL database is installed on
C:\Server\. Ensure you have enough disk space if you change the installation path. - Click Install to begin installing the Report Server. Allow sufficient time for the setup to complete the installation. When installation is complete, the Finish page will appear.
- Review the Release Notes for required post-installation steps, then check the I confirm that I have read the above notes checkbox.
- Click Next.
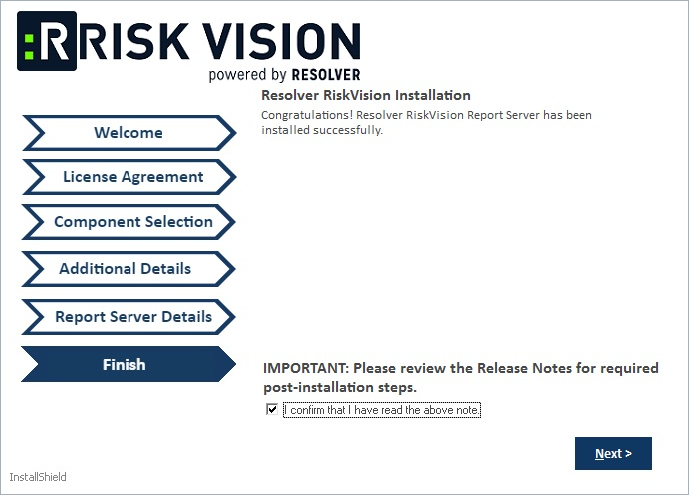 The Finish section of the setup wizard.
- Click Finish to exit the installation wizard.
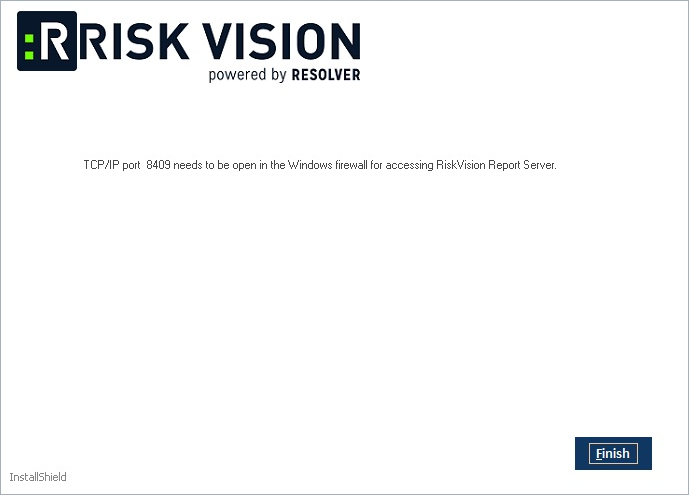 The completion screen of the setup wizard.


