
Scenario: As an Application Security Specialist at Guard First, you are given a task to prepare a table report that shows the number of vulnerabilities reported by scanners. To meet this report objective, you will need to use the 'Vulnerabilities (Instances)' domain.
The rest of this section provides the procedural steps that will help you create an Ad Hoc table report using the 'Vulnerabilities (Instances)' domain.
To create a table report:
- Go to Analytics > Analytics and Reporting to launch the JasperReports Server.
- On the Create menu, click Ad Hoc View.
- The Data Chooser: Source dialog appears. Click the Domains, locate and select the Vulnerabilities (Instances) domain, and click Choose Data.
recommends selecting the data source as topic if you have previously created an ad hoc report using a domain and want to build a new report from the topic that you saved earlier.

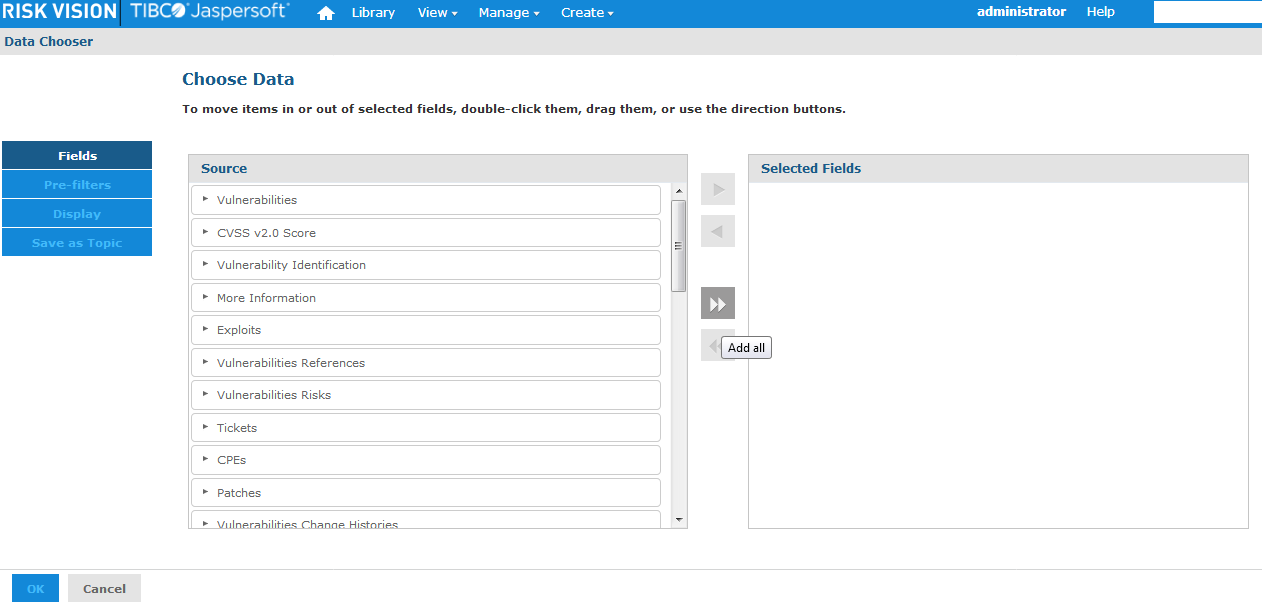
- The Data Chooser... options appear when the Fields tab is selected. On the Fields tab, the Source box lists the tables present in the 'Vulnerabilities - Instances domain. To select fields or tables, you can drag, double-click, or Ctrl-click and click > to move items to the Selected Fields box. Double-click the 'Entity' and 'Vulnerability' tables to move all fields from these two tables to the Selected Fields box.
- Optional. Click the Pre-filters tab to create a filter using the selected fields. By creating a filter, you are restricting the data that appears in the report. To create a filter, expand a table, and double-click the field. After the field appears in the Filters pane, select the drop-down list next to the field to choose the type of operation, choose the field value, and click OK. Click Cancel to remove the filter.
You can create filters in the Report Editor.
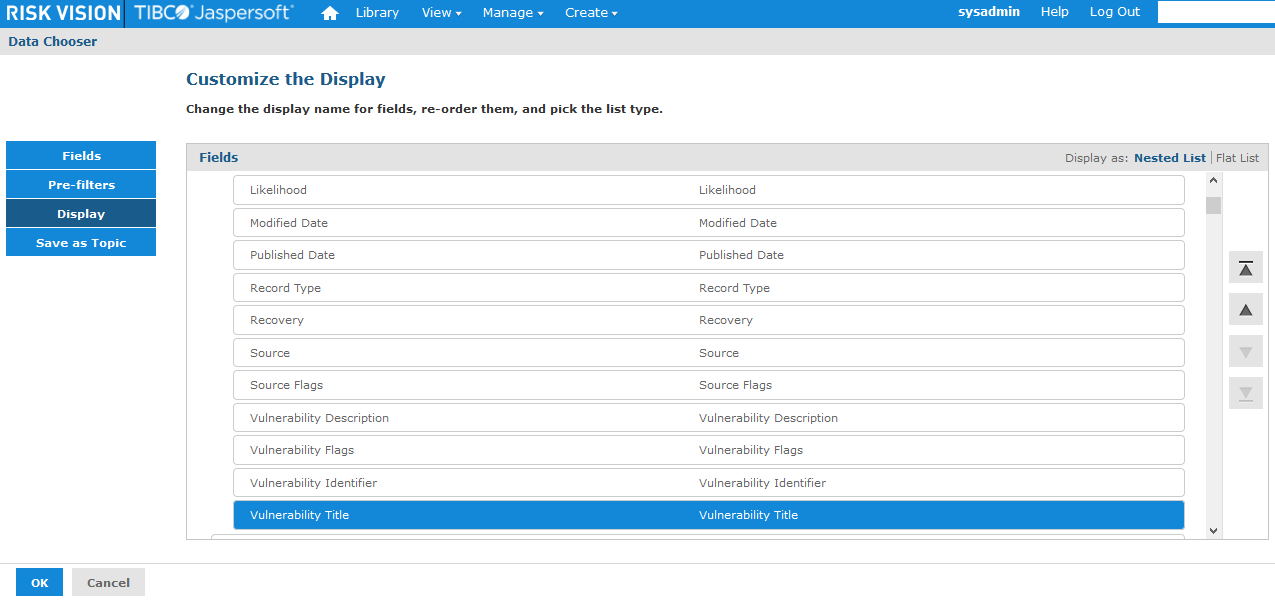
- Optional. Click the Display tab to change the display name and list type for the fields, and to re-order them. To change the display name, double-click the field, and rename it. To re-order the field hierarchy, select the appropriate list type, and use up or down arrows to move up or down. Use arrows that are pointing to the horizontal line to move fields to the top or bottom.
- Click the Save as Topic tab to save the topic for later use. Enter 'GF_Vulnerability_Data' in the Name field (required)for the topic, optionally enter description in the Descriptionfield, and click Browse to choose a location in the repository where the topic will be saved for reuse. By default, the topic will be saved to the
\adhoc\topicslocation in the repository.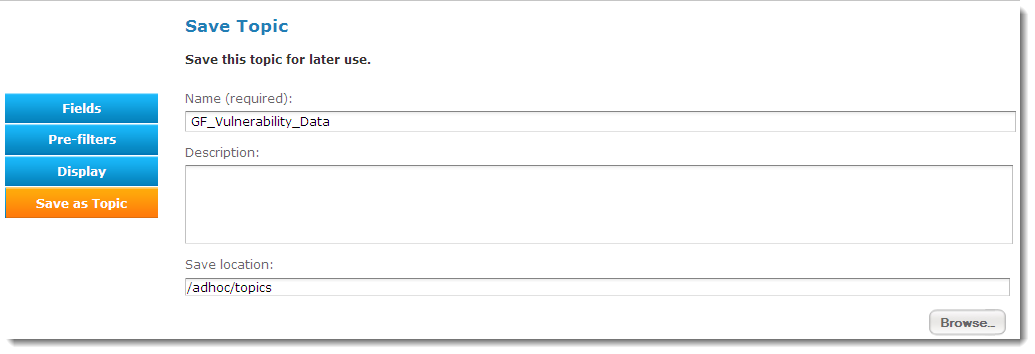
- After specifying all the details on the tabs, click Table.
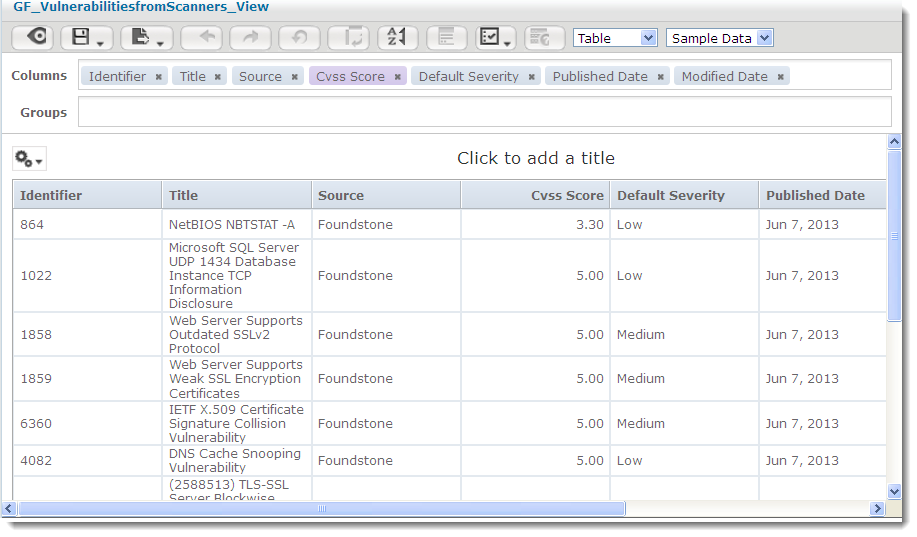
- The Ad Hoc Editor appears. In the Fields pane, expand the tables, and ctrl-click the fields: Title, Identifier, Source, Cvss Score, Default Severity,Modified Date, and Published Dateto drag them into the Columns layout band. To select a field, you can also right-click the field, and choose Add as Group or Add as Column. Whenever you add field(s), the JasperReports Server simultaneously updates the data in the report.

- Select Full Data in the drop-down list to view the entire data in ad hoc editor. Now that you have added the fields, the unformatted report appears as:
- Click the
 icon and choose Save Ad Hoc View and Create Report. In the Save Ad Hoc View and Create Report dialog, enter 'GF_VulnerabilitiesfromScannersr' in the Data View (required)field and enter a name in Report Name (required)field.


