
Perform the following steps to configure SSL encryption.
Database
Execute the following query to enable reportuser to access SSL encrypted database:
GRANT USAGE ONagiliance.* TO 'reportuser'@'<HOST_NAME of Report server>' IDENTIFIED BY '<REPORT_USER Password>' REQUIRE SSL;FLUSH PRIVILEGES
RiskVision
- Add the statements pointing to JKS files and keystore passwords in the agiliance.properties file.
- Replace security jars under the security folder of jre\lib.
- Restart RiskVision Job Manager, RiskVision Apache, and RiskVision Tomcat.
RiskVision Report Server
- Add verify server certificate and use ssl properties to JDBC URL in <JASPER_HOME>\apache-tomcat\webapps\jasperserver-pro\WEB-INF\agiliance.properties file.
Example: database.mysql.url=jdbc:mysql://<DATABASE HOSTNAME>:3306/?verifyServerCertificate=true&useSSL=true&requireSSL=true&useUnicode=true&characterEncoding=UTF-8&autoReconnect=true&autoReconnectForPools=true
- Add the following statements pointing to JKS files and keystore passwords in the agiliance.properties file.
The <INSTALL_FOLDER> is where myKS.jks file is present. Make sure that you specify the complete path.
Example:C:\sslStore\myKS.jks(See Creating an Encrypted Password)
database.mysql.useSSL=truedatabase.mysql.keystore=<INSTALL_FOLDER>/myKS.jks
database.mysql.keystoretype=JKS
database.mysql.keystore.password.encrypted=encrypted password database.mysql.truststore=<INSTALL_FOLDER>/myKS.jks
database.mysql.truststoretype=JKSc
database.mysql.truststore.password.encrypted=encrypted password
- Replace security jars, local_policy.jar and US_export_policy.jar under the %JASPER_HOME%\-
java\jre\lib\security folder. - Open any browser and access the jasper server by using the URL : http://<report server host name>:8480/jasperserverpro/login.html.
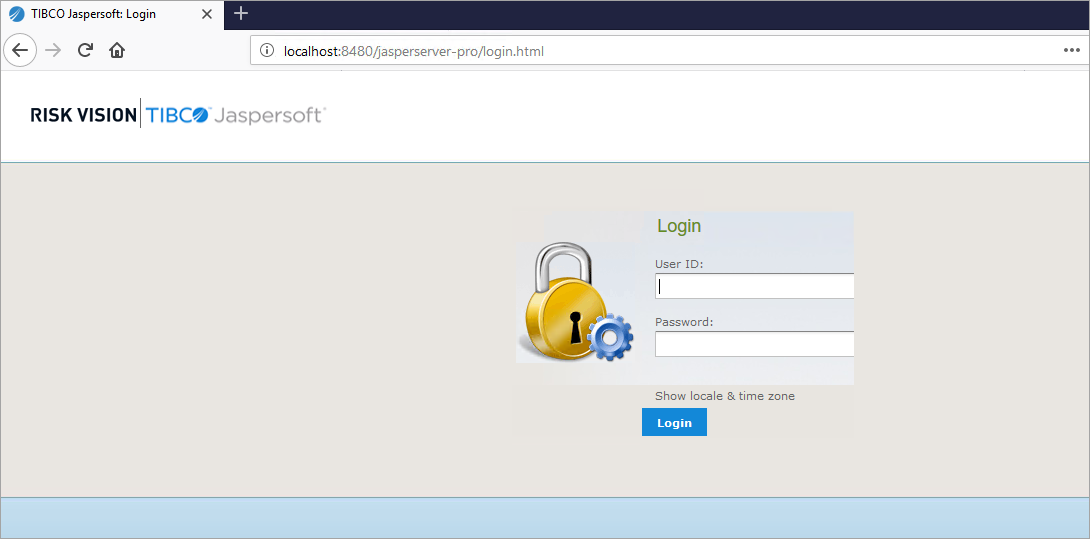 The JasperReport Server Login page.

- Enter your User ID and Password, then click Login. The JasperReports Server Home page is displayed.
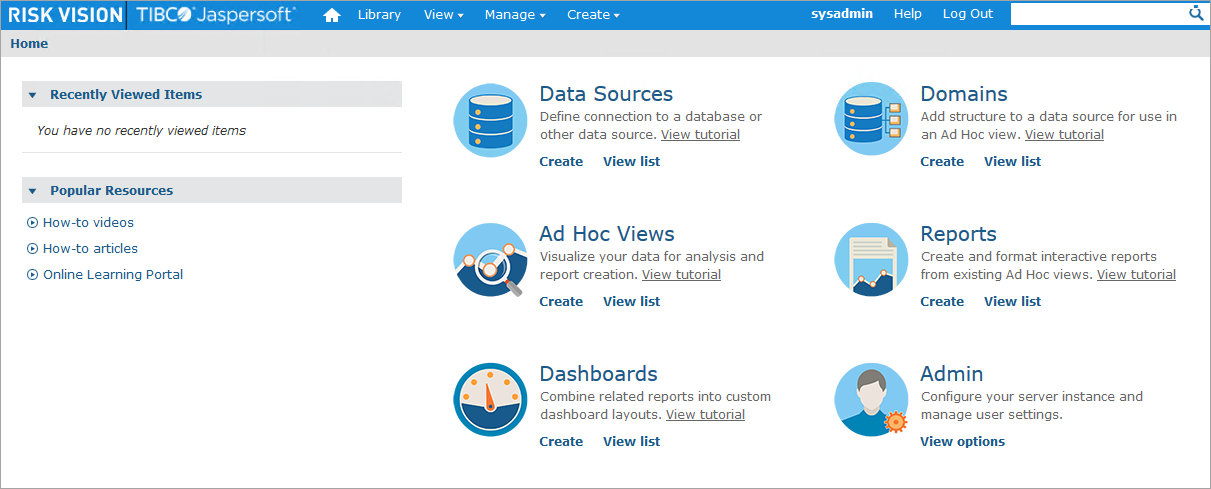 The JasperReports Server Home page.

- Click View > Repository.

- Expand Public, then click Data Sources. The Data Source appears in the Repository pane.
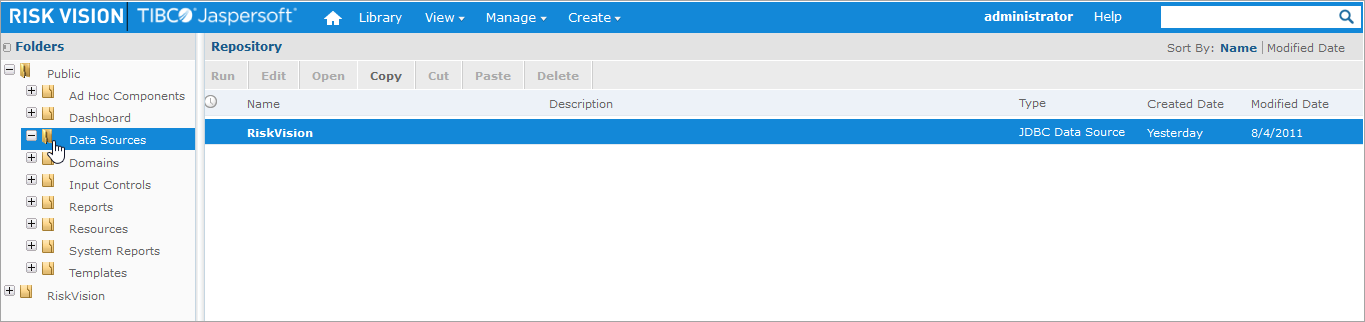 The Data Source in the Repository pane.

- Click the data source, then click Edit.
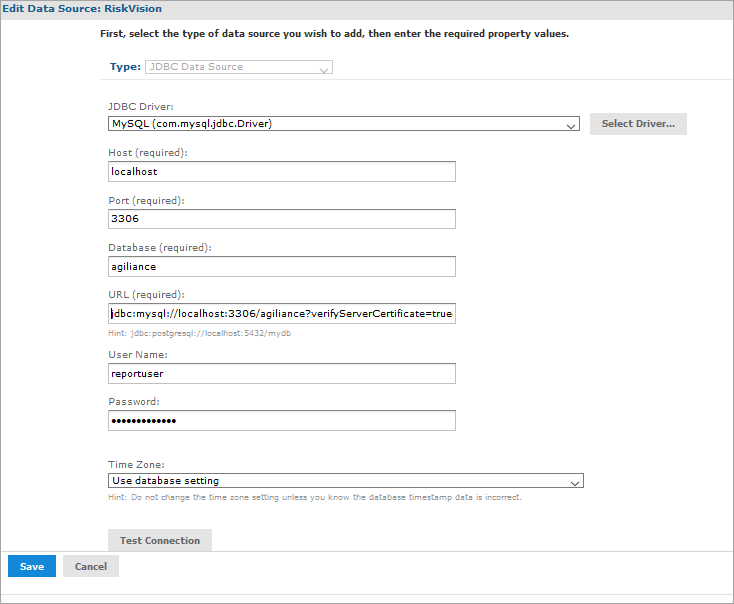 The Set Data Source Type and Properties page

- Append "
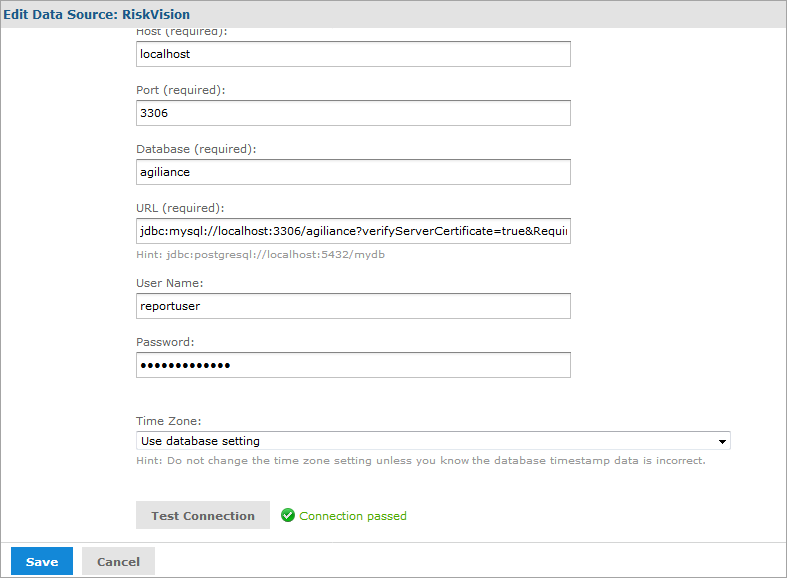
?verifyServerCertificate=true&RequireSSL=true&UseSSL=true" to JDBC URL. - To validate the settings, click Test Connection. Based on the validation results, either proceed to step 11 or step 12.

- If the connection fails, verify the following steps:
- Verify if the correct path for JKS file is specified.
- Verify if you have executed the GRANT permissions with REQUIRED SSL.
- Verify if the security jars have been replaced with the newly downloaded version.
- Click Submit.
- Restart the JasperpostgreSQL and JasperTomcat services:
- Open the Services window.
- Click the jasperreportsPostgreSQL service, then click Restart.
- Click the jasperreportsTomcat service, then click Restart.

