
Each RiskVision object is illustrated with a unique image that can help you identify the object easily among a group of several objects. Usually, this is helpful when a new object type is defined in RiskVision. For example, you can incorporate an image to represent the newly created entity type.
To change the object image:
- In the RiskVision application, select any object to open its details and then click Edit Pane.
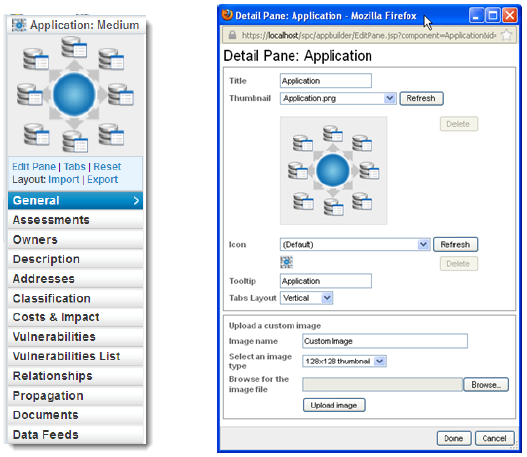
- In the Upload a custom image section, enter Image name, select an image type, and click Browse to select an image. Selecting the 128x128 thumbnail image type will change the image, which appears on top of object tabs, whereas selecting the 16x16 icon image type will change the image, which appears next to the object name, and in the breadcrumb, which appears on top of object details.
- Click Upload image and select the newly added image in the Thumbnail drop-down list.
- To add icon, repeat step 1 and step 2.
- To delete custom images, click Delete.
- An object's tabs appearance can be changed to display horizontally or vertically. To change the layout, select Horizontal or Vertical from the Tabs Layout drop-down list.
- Click Done after all the changes have been made and then click Save to retain the customization permanently.


