The Connector Manager must be installed on the Application Server, or on a Windows server connected to both the legacy connector, RiskVision Tomcat® Server host, and the database host.
Installing the RiskVision Connector Manager
- Copy the following files to the server that will host the RiskVision Connector Manager.
|
File |
MySQL |
Oracle |
|
riskvision.license |
|
|
|
RiskVisionConnectorManagerInstallation.exe |
|
|
mysql-connector-java-8.0.35.zip |
|
X |
- Double-click the RiskVisionConnectorManagerInstallation.exe file to launch the Resolver Connector Manager Setup wizard.
- From the Welcome wizard screen, click the Next button.
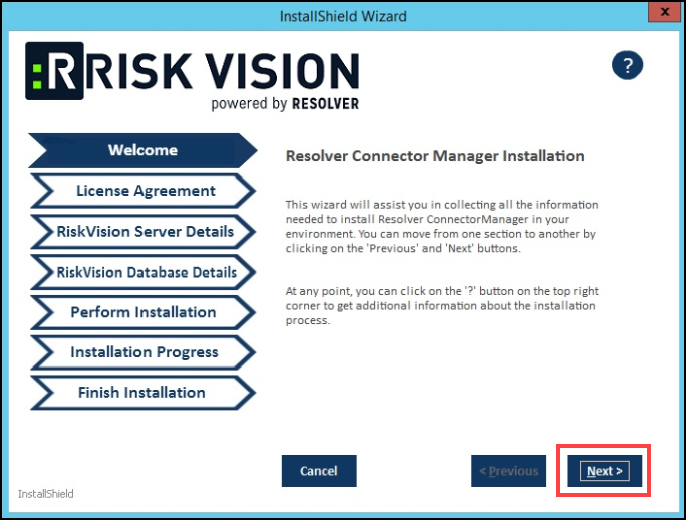
Next Button
- The License Agreement wizard screen will appear. Read through the End User Licensing Agreement and select the I accept the terms in the License Agreement radio button.
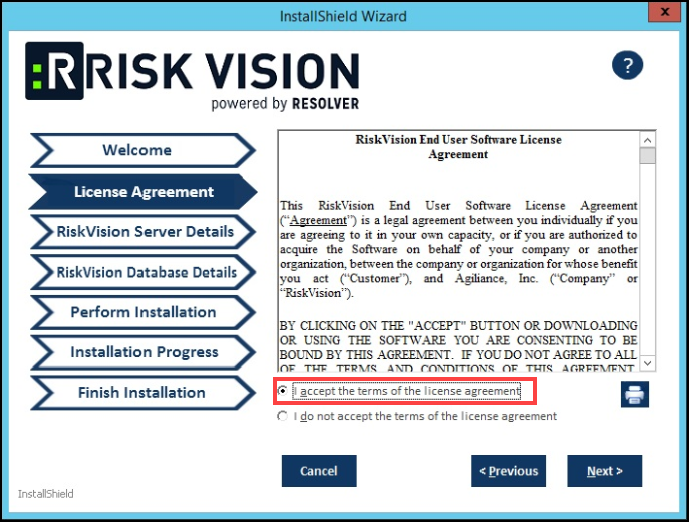
License Agreement Screen
- Click the Next button.
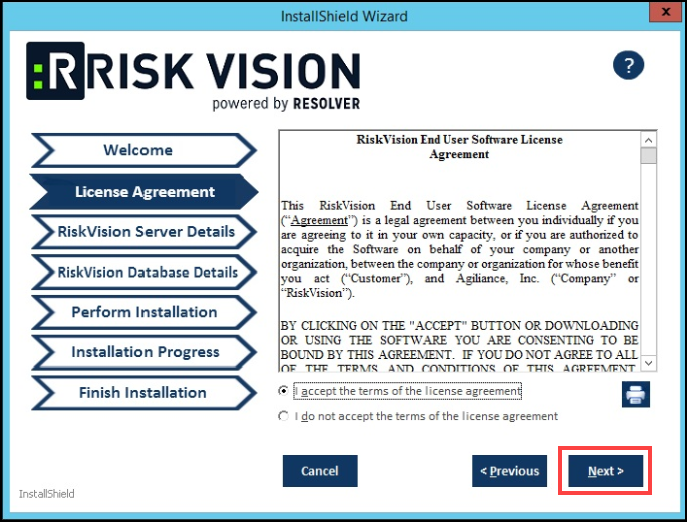
Next Button
- From the RiskVision Server Details wizard screen, enter the server hostname in the RiskVision Server Hostname field.
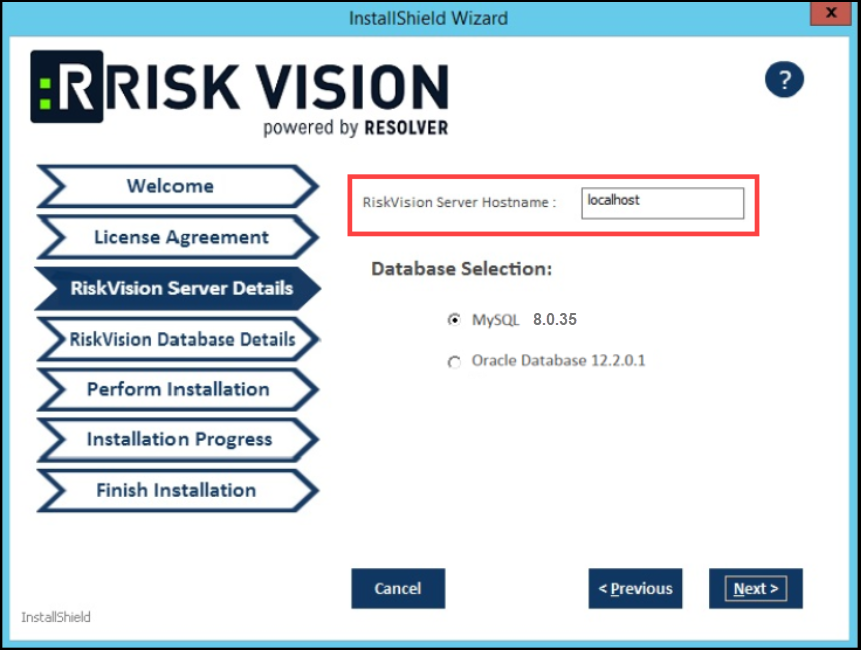
RiskVision Server Hostname Field
- Select a database by clicking a Database Selection radio button.
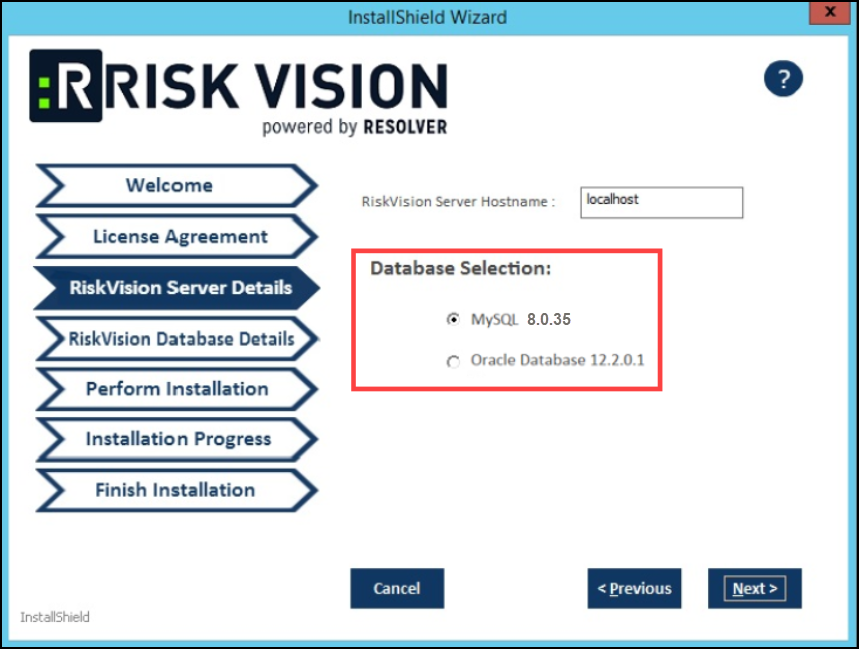
Database Selection Radio Button
- Click the Next button.
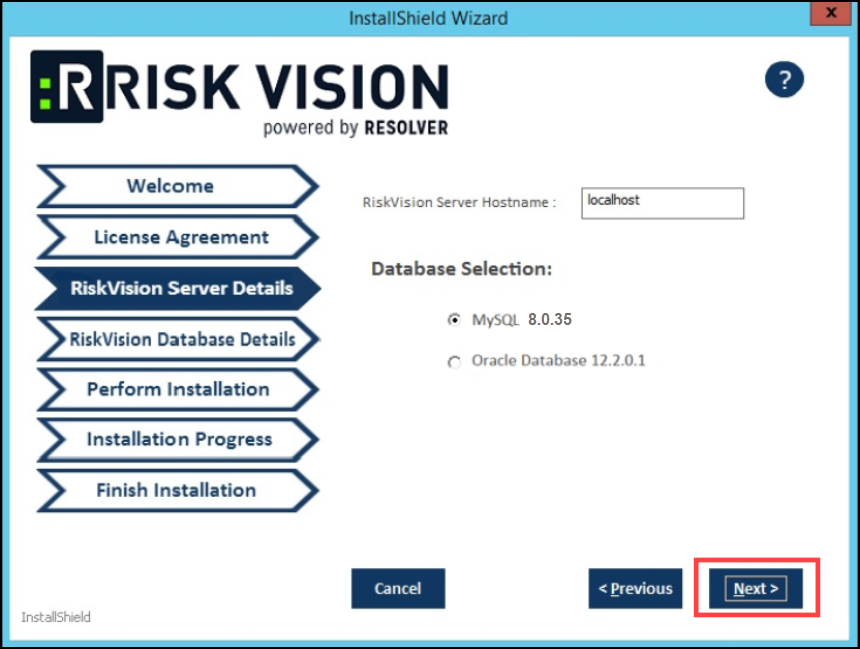
Next Button
- From the RiskVision Database Details wizard screen, enter the following fields (fields will differ based on the database type selected).
- MySQL:
- Database Username: Enter the database username.
- Database Password: Enter the user's database password.
- Database Confirm Password: Enter the user's database password a second time, to confirm that the password is correct.
- Database Hostname: Enter the RiskVision database domain hostname (MySQL or Oracle). If the RiskVision database is on the server where you are currently running the installer, enter the localhost as the database hostname.
- Database Port: Enter the MySQL or Oracle port number, depending on which database you are using.
- Database Service Name: This field will only appear if you selected Oracle as the database. Enter the service name to connect RiskVision to the Oracle database instance.
- MySQL:

RiskVision Database Details Screen
- Click the Next button.

Next Button
- From the Perform Installation wizard screen, the wizard will default the installation path location for the RiskVision Connector Manager to the C:\ConnectorManager directory. The wizard sets the environment variable to %AGILIANCE HOME% using the installation path specified in the Installation Path field.

Installation Path Field
- (Optional) Click Browse button and select the path to install the RiskVision Connector Manager to a different directory.

Browse Button
- Click the Next button.

Next Button
- From the Installation Progress wizard screen, click the Install button to begin the installation process. During the Connector Manager installation process, the setup wizard opens one or more command windows; do not close the windows. Allow sufficient time for the setup to close the command windows and to conclude the installation successfully.

Install Button
- The Finish Installation wizard appears after the setup concludes successfully. Click the Finish button to exit the wizard.
Post-Install Configurations
This section explains how to set up the Connector Manager to use with the RiskVision Server.
After installing the Connector Manager, the propertycom.agiliance.agent.isIndependentAgent=true. gets automatically added to the file%ConnectorManager_HOME%\config\agiliance.properties. To make the RiskVision Server and the RiskVision Connector Manager work, perform the following steps:
com.agiliance.agent.useIndependentAgent=true
com.agiliance.agent.isIndependentAgent=false
> grant all on *.* to 'agiliance'@'<ip_address or hostname>' identified by 'agiliance' with grant option;
> grant all on *.* to 'root'@'<ip_address or hostname>' identified by 'agiliance' with grant option;
> flush privileges;
From RiskVision 9.7.2 the user has to use the grant statements below to grant the permissions to the connector manager server. The grant statements above should be used for RiskVision prior to 9.7.2
CREATE USER 'agiliance'@'<ip_address or hostname>' IDENTIFIED BY 'agiliance';
GRANT ALL ON agiliance.* TO 'agiliance'@'<ip_address or hostname>' WITH GRANT OPTION;
CREATE USER 'root'@'<ip_address or hostname>' IDENTIFIED BY 'agiliance';
GRANT ALL ON agiliance.* TO 'root'@'<ip_address or hostname>' WITH GRANT OPTION;
GRANT RELOAD, SUPER ON *. * TO 'root'@'<ip_address or hostname>';
FLUSH PRIVILEGES;
COMMIT;
- In the RiskVision Tomcat Application Server host, go to the
%AGILIANCE_HOME%\configdirectory, openagiliance.propertiesfile using a text editor, and add the following properties:
com.agiliance.agent.useIndependentAgent=truecom.agiliance.agent.isIndependentAgent=false
- Restart the RiskVision Tomcat service to apply the latest changes.
- If you using a MySQL database, run the following MySQL commands to connect the Connector Manager.
The RiskVision Connector Manager works on port 9443. Make sure that all the connectors connect to the RiskVision Connector Manager using port 9443. All the stand-alone connectors, except the Email Connector and Authentication Connector, must point to the RiskVision Connector Manager.
