
If your policies are already available in a Word document, it can be faster to import the policies, rather than recreating them. You can import documents in .doc, .docx, .odt, and .rtf format.
To create a policy document:
- Open a document using Microsoft Word.
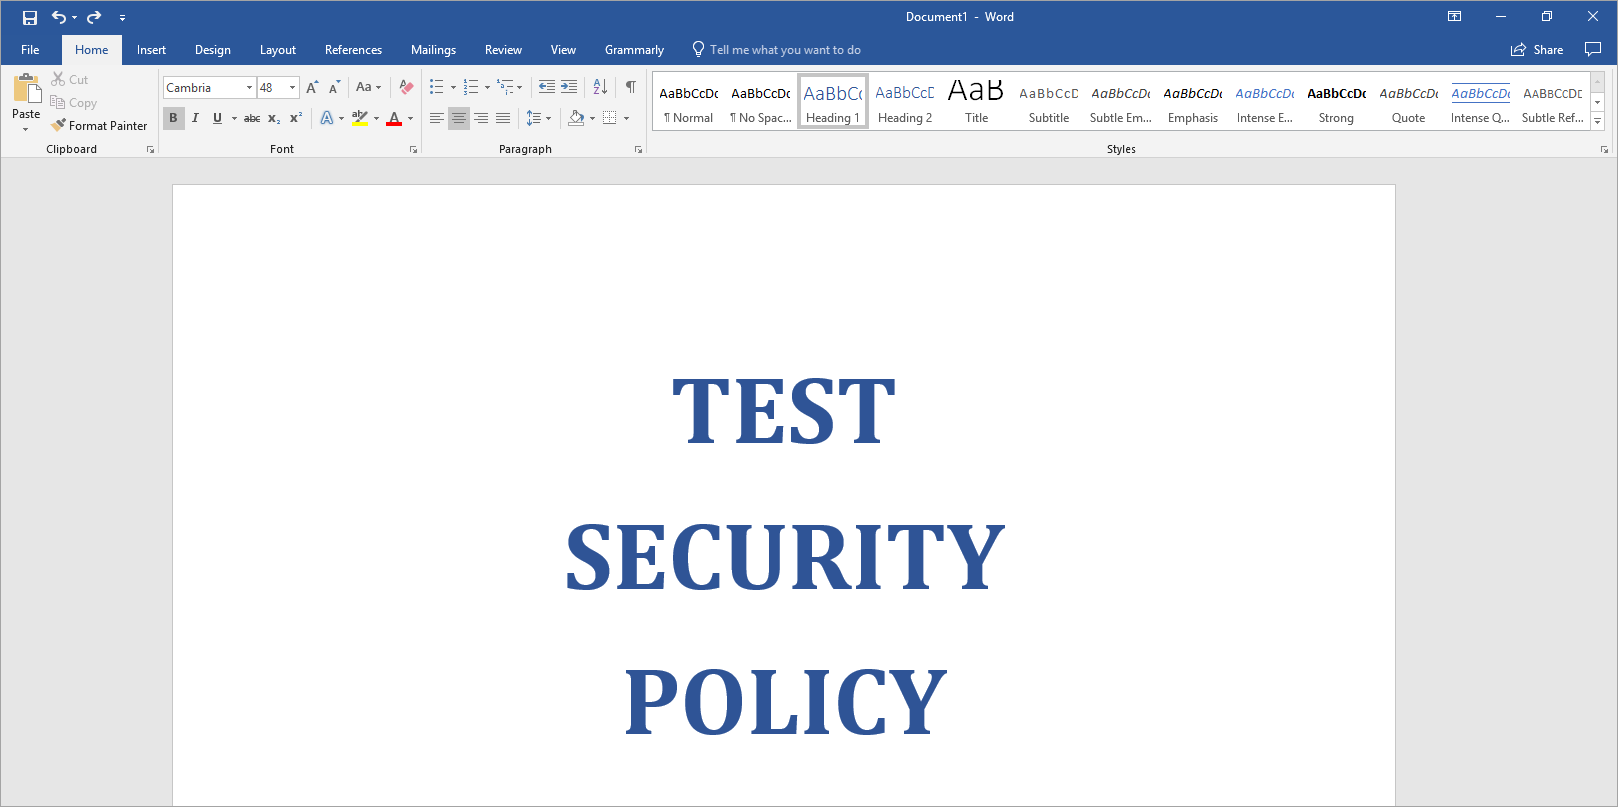
- Set the title, heading and top-level sections to the Heading 1 style type.
- Set the subsection heading styles as Heading 2, Heading 3, and Heading 4. Set the body text associated with various sections to Normal style.
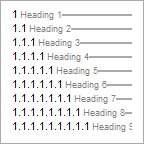
- Create a multilevel listing. Select the heading and set the heading type as H1. Select the second level heading and right click on it.
- Click Home tab > Numbering > Change List Level. This will automatically set up the numbering in a format that RiskVision can recognize. If you don't set the top level heading to H1, or H2, or H3, change list level will not be active. Manually creating the numbering format may create formatting issues.
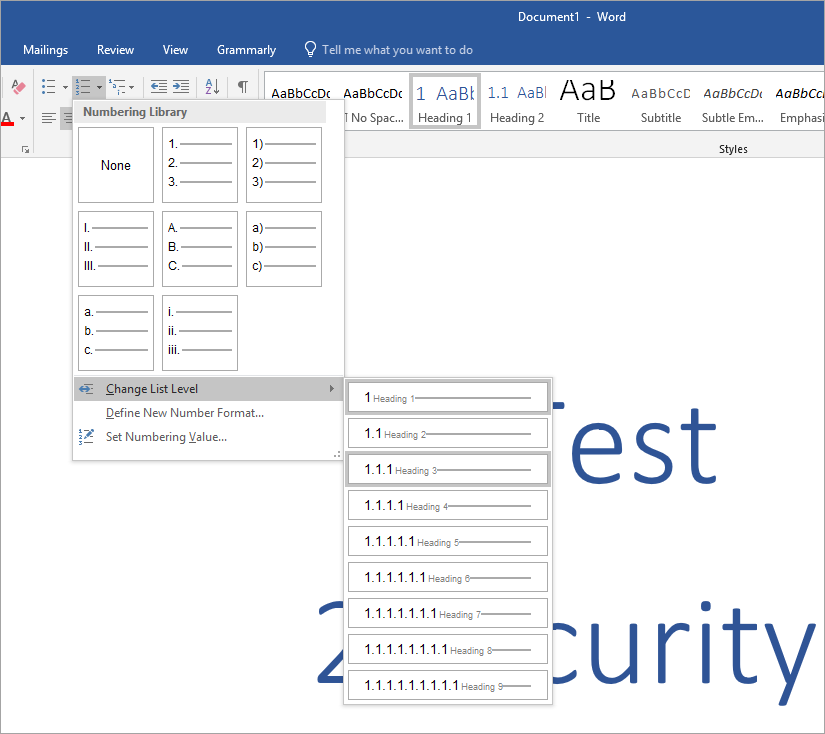
- Optional: To format the numbering manually, click Home tab > Multilevel List, then choose the following option from the list library:
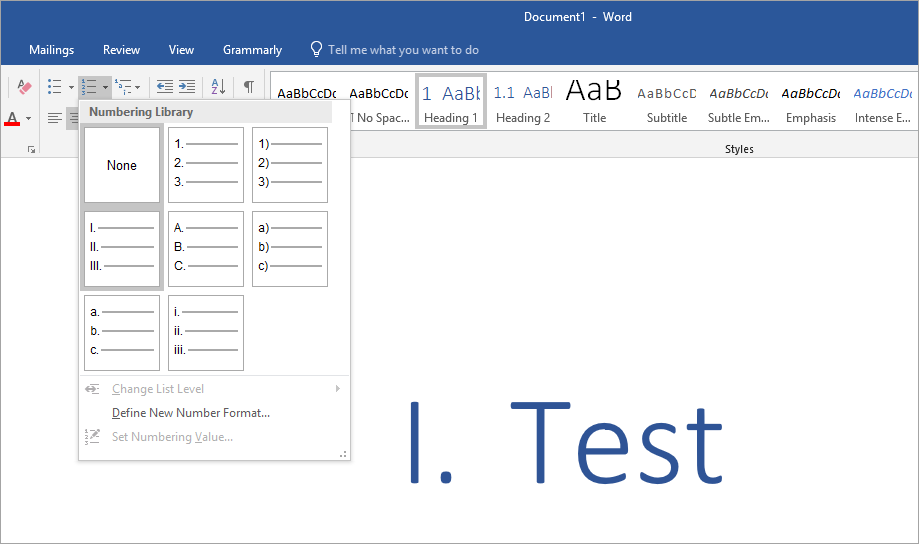
- Optional: To remove any undesired numbers, click the text, then click Home tab > Numbering > None.
- Save the file with a .doc extension.
- Log into RiskVision Policy Manager.
- Go to Content > Policies and click More Actions > Import Policy from Word.
- Verify if the headings are broken into the correct sections and the numbering format is properly aligned.


 | When adding page breaks to Word documents, remember to press the Enter key to add a paragraph space after each page break. Otherwise, page breaks may not translate properly when exporting to .pdf format. |

