
The Authentication connector is used to import users from the LDAP Directory service into RiskVision. The Authentication connector will communicate with the LDAP directory, verify the user's authentication, and allow them to log in to RiskVision.
In addition to using the built-in RiskVision solution authentication mechanism, you can configure a local LDAP directory service for authentication. When using LDAP for authentication, the RiskVision solution prompts the user to type a login user name and password. Once the user is authenticated by LDAP (credentials validated with the underlying AD or LDAP directory service), the RiskVision solution retrieves the corresponding user’s attributes and permissions based on mapping roles stored in the RiskVision database.
Providing LDAP authentication for the RiskVision solution requires installation of the following:
- A supported LDAP Directory service such as Active Directory (AD).
- Optionally, if LDAP users will be imported into the RiskVision database , login names defined for LDAP users that you want to grant access to the RiskVision solution.
AD or LDAP users are assigned initial roles with access to the Console based on settings and roles defined on the Administration > Login Integration page in the Administration application.
If you want to allow a user to configure an LDAP service, you should assign the System User Manage permission. This permission is assigned to the default Administrator role in RiskVision.
Secure LDAP service prerequisites:
Back up the default trust store file cacerts located in the %AGILIANCE_HOME%\Java\jre\lib\security directory.
- Create an empty file with any name to store the AD certificate in the machine where RiskVision is installed. For example, C:\SecureLDAP\keystore.cer.
- Open the command prompt and navigate to the path where OpenSSL is installed. For example, C:\Program Files\GnuWin32\bin.
- Run the following command to generate the certificate from the AD server where you want the secure LDAP service to be.
openssl s_client -connect <AD IP address>:636 –showcerts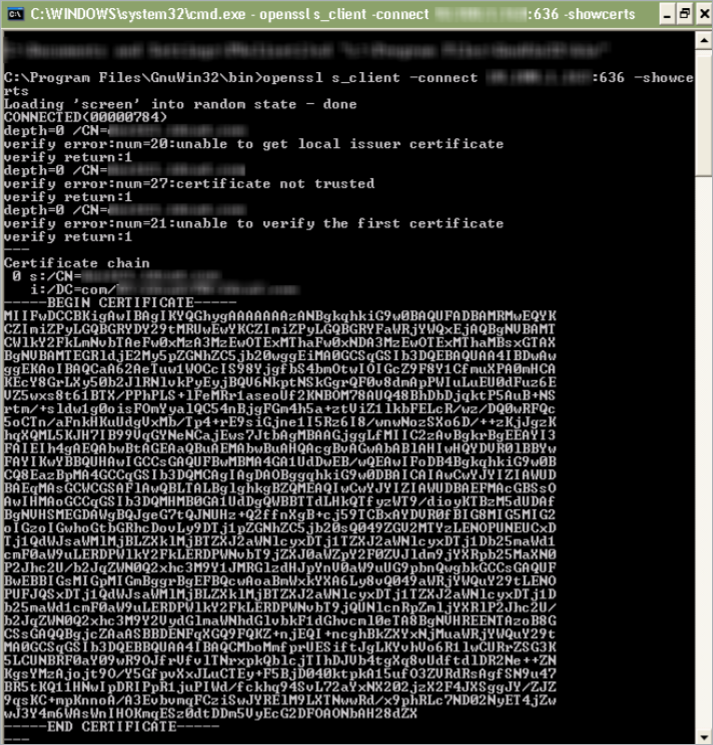 An example of a generated certificate.
- Copy and paste the text between -----BEGIN CERTIFICATE----- and -----END CERTIFICATE----- into the file that was created in step 2.
- Verify if the content is corrupted by using the following command:
openssl x509 -in <keystore file path>\keystore.cer –text
- Navigate to the location where keytool is installed (E.g., %AGILIANCE_HOME%\java\bin).
- Import the AS certificate file made in step 5 into the jre\lib\security\cacerts certificate file by running the following command in one line.
keytool -import -alias ldap1 -keystore %AGILIANCE_HOME%\Java\jre\lib\security\cacerts -trustcacerts -file <keystore file path>\keystore.cerThe system will require a keystore password in order to import the certificate. The default password for cacerts is changeit.
- Restart the Tomcat server and test the secure LDAP connection in RiskVision by configuring the Authentication Connector.


To set up the LDAP service connection:
- (Note: In a multi-tenant environment, only the 'sysadmin' user in the system tenant space can access the Authentication Connector.)
In the Administration application, go to Administration > External Authentication.
The LDAP Servers page is displayed.

- A default Authentication Connector is available for you to set up an LDAP service. Modify the default LDAP setup or click New to create a new LDAP server. When you click new, the LDAP Server Configuration dialog appears.

- Enter the configuration information.
- Name: Specify the LDAP name.
- Description: Provide information explaining the purpose to set up an LDAP.
- Protocol: Select the connection type.
- Host name: Enter the host name or the IP address.
- IP address: Enter the IP address.
- Port: Enter the connection port, the default is 389 (LDAP) or 636 (Secure LDAP).
- Domain: Specify the domain name. Display domain name for users to select while logging in to RiskVision.
- Base DN: Enter the base domain such as dc=,dc=com.
- Uid key: Enter the name of the field that specifies the unique user identifier, For example, uid for standard LDAPs or sAMAccountName for AD.
- Default domain: Enter the domain name to use as default domain when there multiple configured domains
- Enter the connection and search details.
Login: Optional, enter the account information that the application should use to authenticate users against the LDAP service. The account requires at least read access to the DN and search base.
Password: Optional, enter the account password.
Confirm password: Verifies if you have entered the correct password when you save.
Search base: Used for large directories to prevent time outs, this field is combined with the base DN; for example enter OU=Security.
Search filter: Limit the scope of the search to certain objects, for example to search only user in AD enter ObjectClass=User.
- Click OK.


Next, test the connection.

