
This section provides instructions to upgrade your deployment when the RiskVision Tomcat Application Server, Apache Web Server, and database are distributed on three servers. The upgrade process emphasizes the step(s) with specific options to select for each component when running the installer to upgrade each component. The RiskVisionApplicationServerUpgrade.exe installer must be run three times, one time on each server. Further, this section provides upgrade instructions specific to the three-tier: Case B and four-tier scenarios.
To upgrade the deployment:
- Copy the following files to the servers where database server, Apache Web Server, Tomcat Application Server and RiskVision Job Manager are installed.
File
MySQL
Oracle
riskvision.license


RiskVisionApplicationServerUpgrade.exe


jce_policy-8.zip


TIB_js-jrs_6.4.3_windows_x86_64.exe


mysql-5.7.24-winx64.zip


mysql-connector-java-5.1.39.zip


Riskvision-part1.zip


Riskvision-part2.zip


Riskvision-part3.zip


- Run the upgrade installer on each server one after another. Double-click
RiskVisionApplicationServerUpgrade.exe. - Click Next.
- Check the I accept the terms in the License Agreement checkbox.
- Click Next.
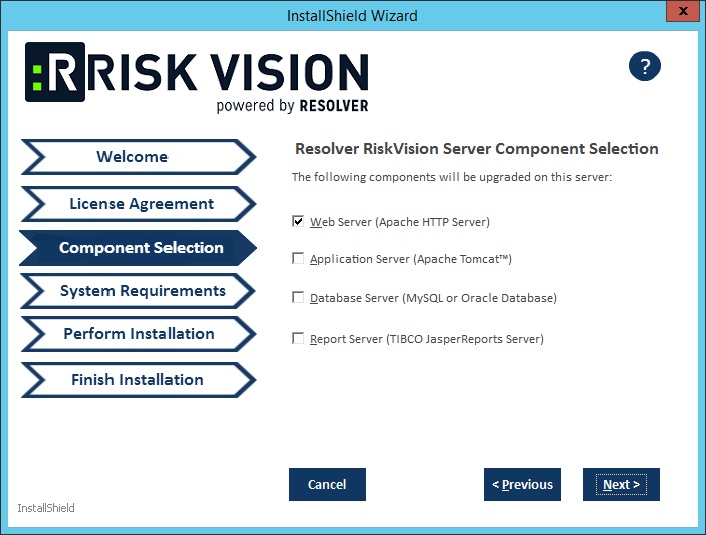
When running the upgrade installer on the web server system, check the Web Server(Apache HTTP Server) checkbox.
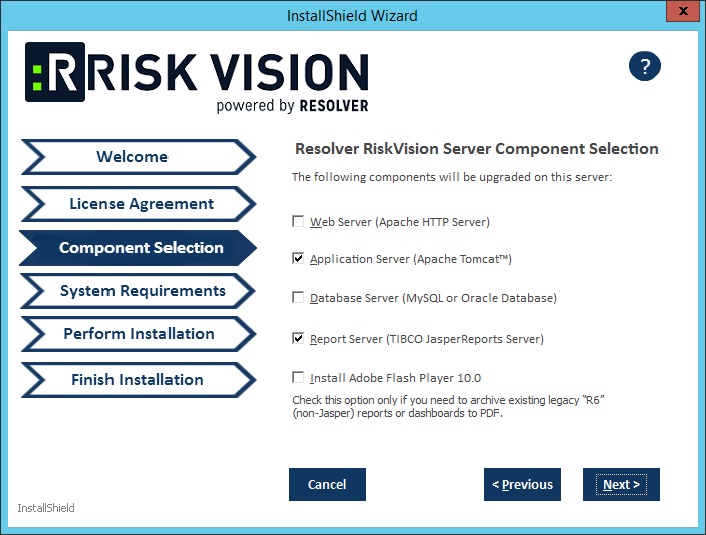
When running the upgrade installer on Tomcat application server system and Report server, check the Application Server (Apache Tomcat) and Report Server (TIBCO JasperReport Server) checkboxes.
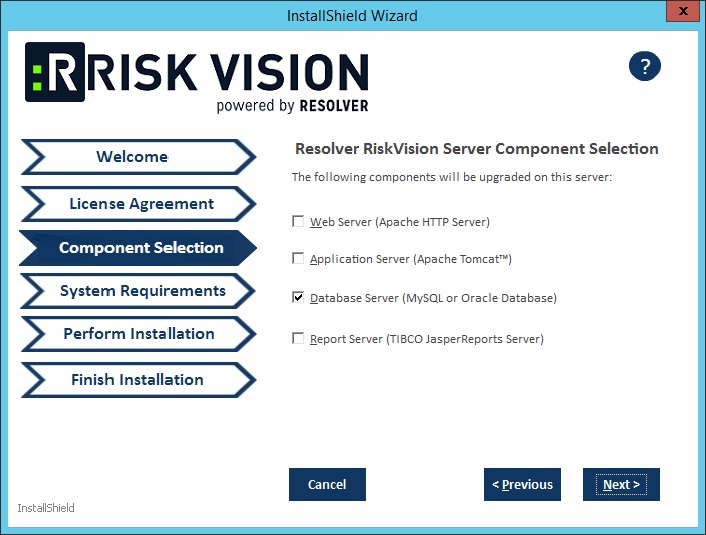
When running the upgrade installer on the web server system, check the Database Server(MySQL or Oracle Database) checkbox.
- Click Next.
- Select the database type, either MySQL or Oracle.
- MySQL database:
- Click the Application Server IP Address field and enter the IP address of the RiskVision Server in which the application server is running.
- Click the Application Server Host Name field and enter the hostname of the RiskVision Server in which the application server is running.
- Enter the database reportuser password in the ReportUser Password field. Enter the same password in the ReportUser Confirm Password field. Memorize this password as you will need it when you set up the RiskVision Report Server, whether for a new installation or an upgrade.
- Enter the hostname of the database in the Database HostName field.
- Enter the fully qualified domain name of the RiskVision Report Server in the Report Server HostName field.
- Enter the database port in the Database Port field.
- Enter the PostgreSQL admin password in the PostgreSQL Admin Password field. Enter the same password in the Confirm PostgreSQL Admin Password field.
- Oracle database:
- Enter the IP address of the RiskVision Server in which the application server is running in the Application Server IP Address field.
- Enter the hostname of the RiskVision Server in which the application server is running in the Application Server Host Name field.
- Enter the database reportuser password in the ReportUser Password field. Enter the same password in the Confirm ReportUser Password field. Memorize this password as you will need it when you set up the RiskVision Report Server, whether for a new installation or an upgrade.
- Enter the hostname of the database in the Database HostName field.
- Enter the fully qualified domain name of the RiskVision Report Server in the Report Server HostName field.
- Enter the database port in the Database Port field.
- Enter the Oracle Service name, in the Oracle Service name field.
- Enter the PostgreSQL Admin password in the PostgreSQL Admin Password field. Enter the same password in the Confirm PostgreSQL Admin Password field.
- MySQL database:
- Click Next.
- If your server does not meet the system and hardware requirements, the System Requirement wizard page will open. Continuing without meeting the system requirements could adversely affect performance. Consult the Minimum Hardware Requirements. Click Accept to continue the installation or click Abort to cancel. If you click Accept followed by Next, you will be directed to the Begin Installation wizard page. If you click Abort followed by Next, you will be prompted to click Finish so that you can stop the installation.
- Click Install to begin the installation.
Review the Release Notes, then check the I confirm that I have read the above notes checkbox.
Click Finish


At this point, the upgrade process is complete.


