
This article provides instructions on configuring the workflow transition and action options for the following objects:
- Tickets;
- Incidents;
- Exceptions;
- Findings; and
- Policies.
A stage transition moves the process from the current stage to another stage. The transition is typically associated with a user action, such as approve or reject. For Assessment workflows, the transition can also have questionnaire taking conditions. The stage transition options display as buttons on the workflow page.
By default, a workflow uses at least two actions in each stage. Since you may not need two actions on all occasions for each workflow stage, you may want to use the following properties so that actions can be selected depending on the context of need.
PROPERTY | DESCRIPTION |
| workflow.min.transitions=<number> | Enter a number which specifies the actions in the workflow stage. If this property value is not set, the default value is 2, meaning there must be at least two transitions for every non-terminal stage. |
| workflow.max.transitions=<number> | Enter a number so that you will have the choice to select more transitions when needed. By default the value is 4, meaning there can be no more than four transitions for every non-terminal stage. |
For example, if you need just one action in a workflow stage, you must set the workflow.min.transition property to 1 and workflow.max.transitions property to an appropriate value so that you can continue to select more actions in stages depending on the context of need.
 | Only users with Workflow View and Workflow Update permissions can modify workflows. |
| As of version 9.5, the workflow.max.transitions value for exception workflows will be the entered value plus 1. This extra transition will allow the workflow to expire. |
To configure a workflow's transitions and actions:
Click Configuration > Workflows.
- Click a workflow on the grid to open the workflow settings. If needed, use the tree to the left or the filter dropdown menu on the far right to filter the results on the grid.
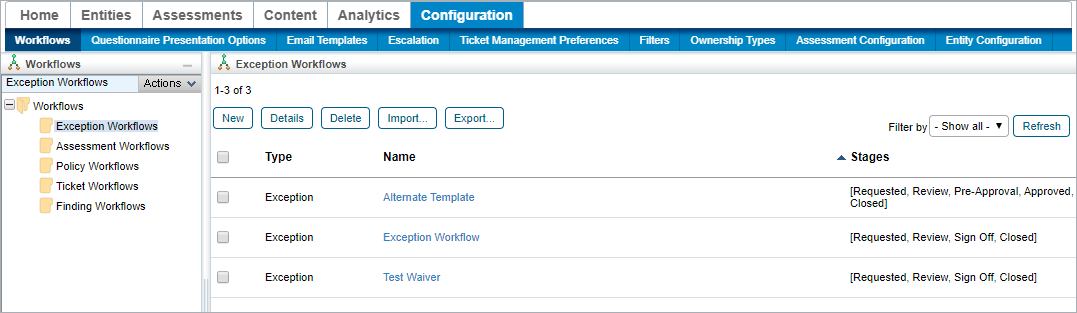 The Workflow settings in Configuration.
- Click Definition in the pane to the left if it's not already selected.
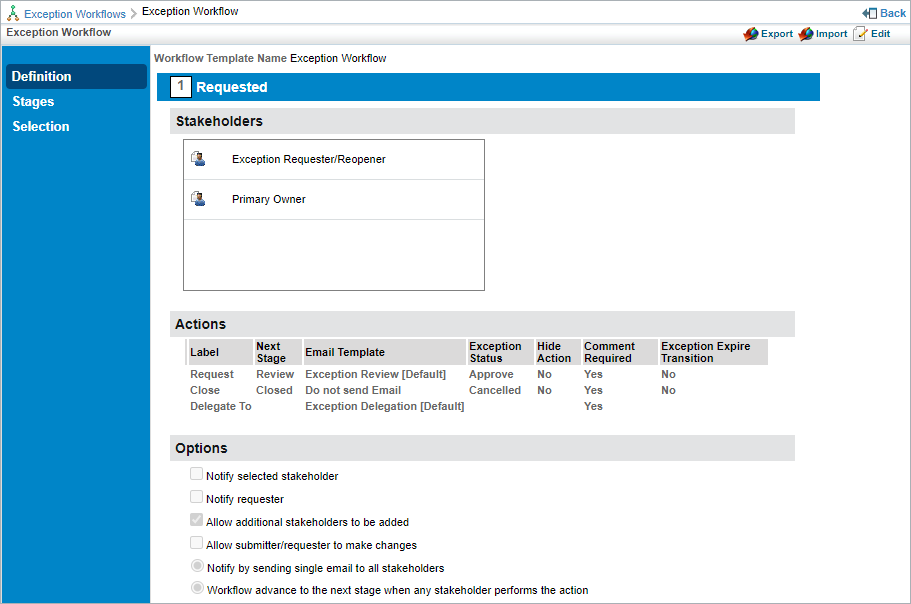 Workflow details.
- Click Edit in the top-right of the workflow screen.
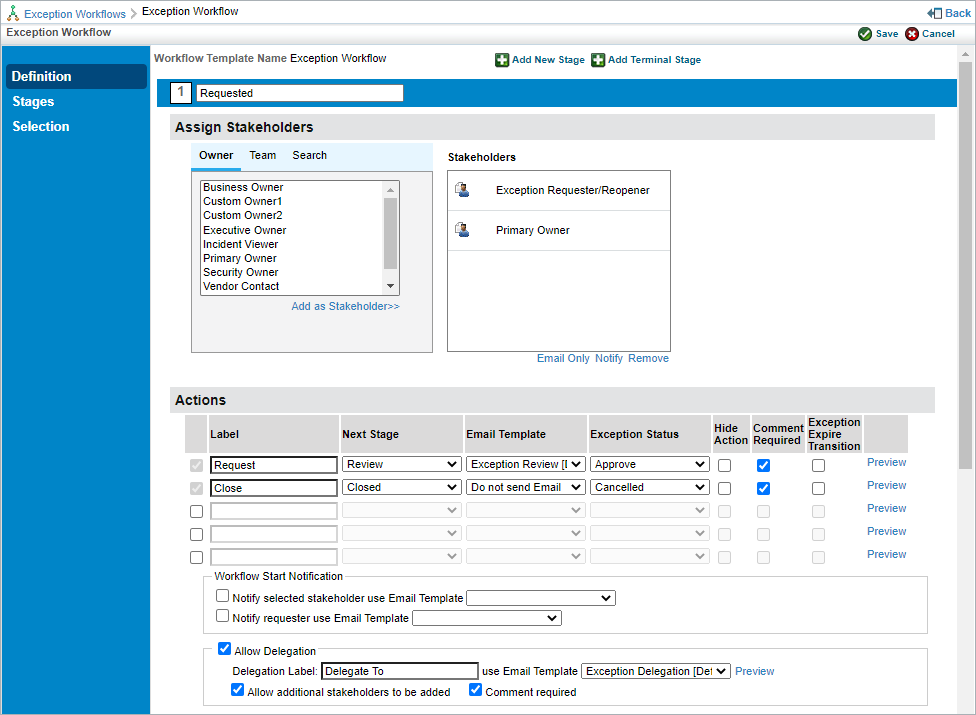 The Workflow edit screen.
- Click a stage to display its Actions settings.
- Enter a name for the stage in the Label text box. This is the label that will appear on the button that users click to move the object to another stage.
 The Actions settings.
- Select the stage the object will transition to from the Next Stage dropdown menu.
- Optional: Select a template to define which email is sent to stakeholders when the notify settings are enabled. If you do not want an email sent, select Do not send Email.
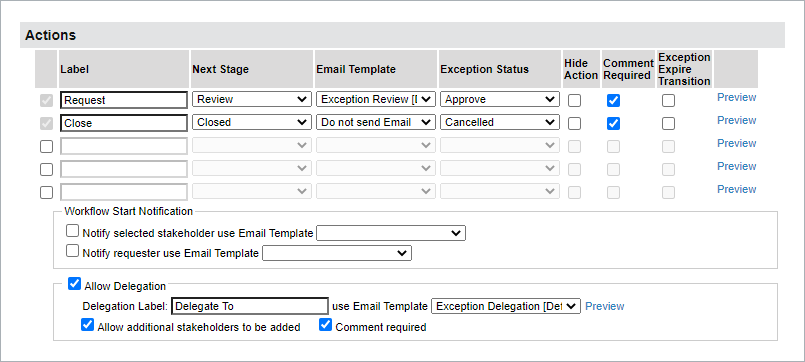
Enter a status for the object once it transitions in the Status field.
For exceptions, this field is a select list called the Exception Status field. Users will choose the appropriate status from a predefined list created on the Exception Management Preferences page. All other workflow types will have users enter in their own status values. - Select the Hide Action checkbox if the transition button should be hidden from end-users in the Workflow section of the object. This option is useful when the transition is automated and does not require any action from the user.
- Deselect the Comment Required checkbox if the transition does not require end-users to enter comments in the Workflow tab before the object transitions. This checkbox is selected by default.
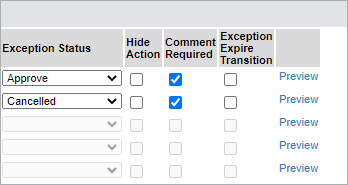 The Hide Action and Comment Required checkboxes.
- Optional: Click Preview if you selected an email template in step 8 above and you wish to preview it.
- Repeat steps 5 to 12 to modify the settings of additional stages as needed.
- Click Save to save your changes.


| Existing objects must be synchronized to reflect changes to the workflow settings. To synchronize, navigate to the objects (e.g. Home > Tickets) and select Synchronize Workflow from the More Actions... dropdown menu or open an individual object to synchronize it from the Workflow section. |

