
Scenario: As a program owner at Guard First, you are given a task to schedule the Program Assessment Details daily to email the 'GF_Audit_Risk' report to the compliance team in your organization.
The rest of this section will help you understand how to schedule the Program Assessment Details report, which will provide the assessment details of the 'GF_Risk_Audit' program.
To schedule a report:
- Go to Analytics > Analytics and Reporting to launch the JasperReports Server.
- To search a report that you want to schedule, do one of the following:
- Go to View > Repository, expand the Reports folder that is present in the Public folder, and select the Program folder to display the list of reports.
- Go to View > Search Results, enter text in the Repository text box, and click Search to return the search results. You can also use the predefined filters to narrow the search criteria in finding the desired report.
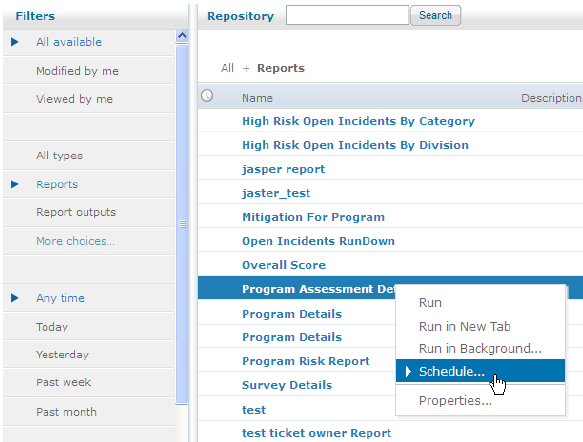
- After you find the Program Assessment Details report, right-click in the report row, select Schedule... in the context menu to display the Scheduled Jobs page, and click Create Schedule.
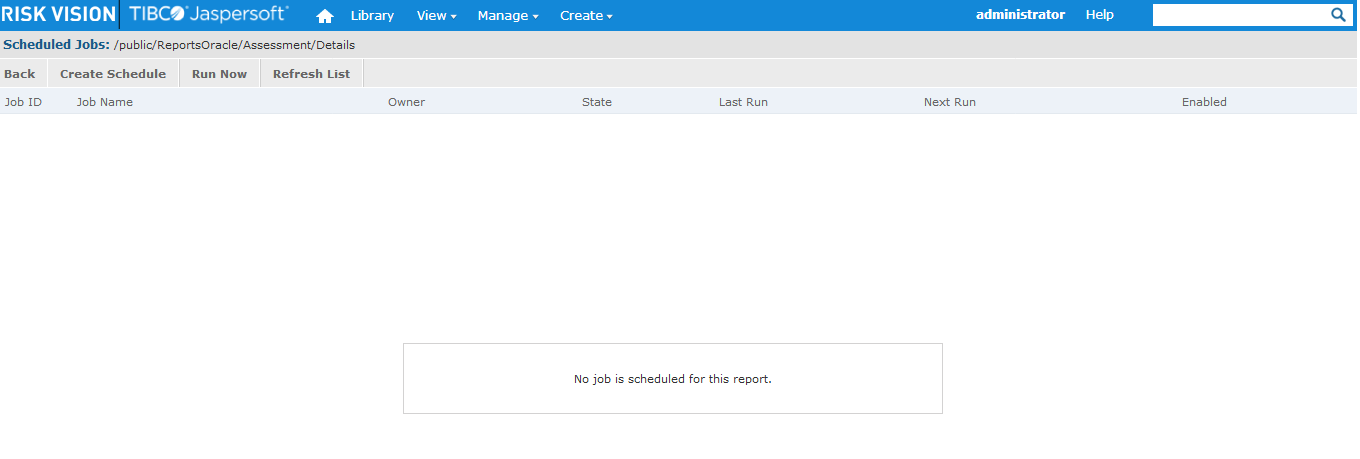
- The New Schedule page appears, displaying the Schedule tab.


Specify the following fields:
- Schedule Start
Choose the type of start job. If you choose Immediately, the report runs after you the submit the job. To start the job at a later date, choose On, and click the calendar icon to select a date. Retain the default selection.
Specify in which time zone the job must be started. By default, the reports are scheduled in the Pacific Standard Time. Retain the default selection.
- Recurrence
Choose None, Simple or Calendar. If you choose None, the job is run only once based on the start job settings. If you choose Simple, then you must specify Repeat every, and choose Indefinitely, Times, or Until. Because your objective is to run the job daily for 30 days, you must enter 1 in the box next to Repeat every, and choose days from the drop-down list. Choose Until and click the calendar icon to select a date that is 30 days from the current date.
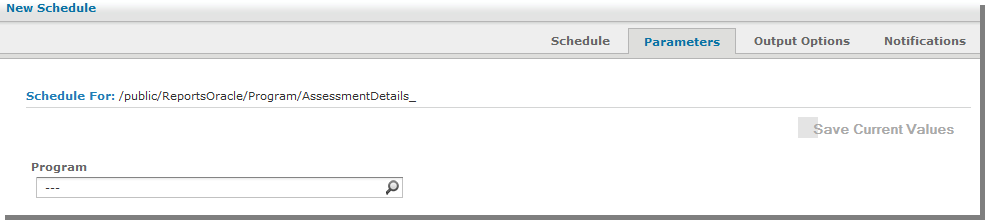
- Click the Parameters tab. Select the values for input control that you want the job to use when producing the report results. Select the 'GF_Risk_Audit' program in the Programlook-up field.
- Click the Output Options tab.
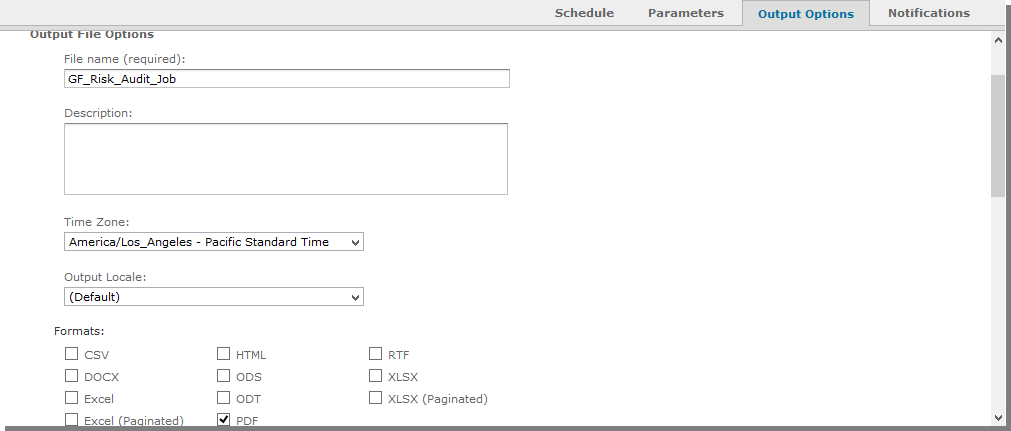


Specify the following fields:
- Base Output File Name. Enter 'GF_Risk_Audit_Job' for displaying the output of the job.
- Output Description. Specify the description for the job output.
- Time Zone. Select the desired time zone.
- Output Locale. Select the locale settings for the report. Retain this setting to 'Default.'
- Formats. Choose one or more output formats. By default, the scheduler uses the PDF format. When you choose more than one format, each format is stored as a separate file in the repository and attached as a separate file to the email notification.
- File. Handling. By default, the Overwrite Filesoption is selected to overwrite the old report file name with the new ones. Check the box next to Sequential Filenames and enter the timestamp pattern. You may use this option in case of recurring jobs to know the latest report output file. The default timestamp pattern is 'yyyyMMddHHmm.'
- Output Destination. By default, the Output To Repositoryoption is selected to save the output file to the repository. Click Browse if you have to change the output location in the repository. Check the box next to the Output to Host File System if you have to publish the output to the file hosting services. Check the box next to Output To FTP Serverif you have upload the files to the FTP server.
- Notifications. Enter email addresses to send notifications when scheduler runs and job is executed. Enter messages upon successful and/or failure notifications. Multiple email addresses must be separated by commas in the To box. Include reports as repository links, attachments, ZIP format, or HTML.
- Click Save.
- The Save As dialog appears. Enter Schedule Job Name (required)and Scheduled Job Description.
- Click Save. The report is scheduled.

