
The default email configuration sends notifications to a local SMTP service for email distribution. With default email configuration, all notifications are sent out using one email address. You can add multiple email configurations to send out notifications from more than one email account. You might do this for users tasked with the administration of RiskVision objects, such as assessments, findings, incidents, and tickets, so that stakeholders can reach out directly to those users. Once you configure multiple email configurations, the email addresses are available for selection in the Sender Email Account field of email templates to send out notifications using different email addresses. If no sender account is selected in the email template, the notifications are sent out using the default email configuration.
To set up the email configuration:
Open RiskVision Administration.
Go to Administration > Notifications, then click the Configuration tab to view the default notification sender account.
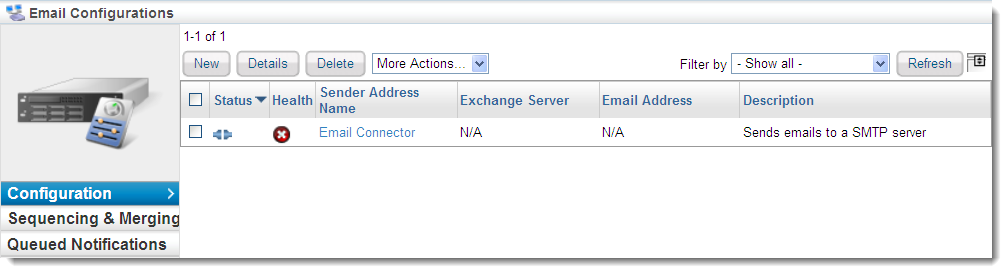
Click the default notification sender account, or click New to add a sender account.
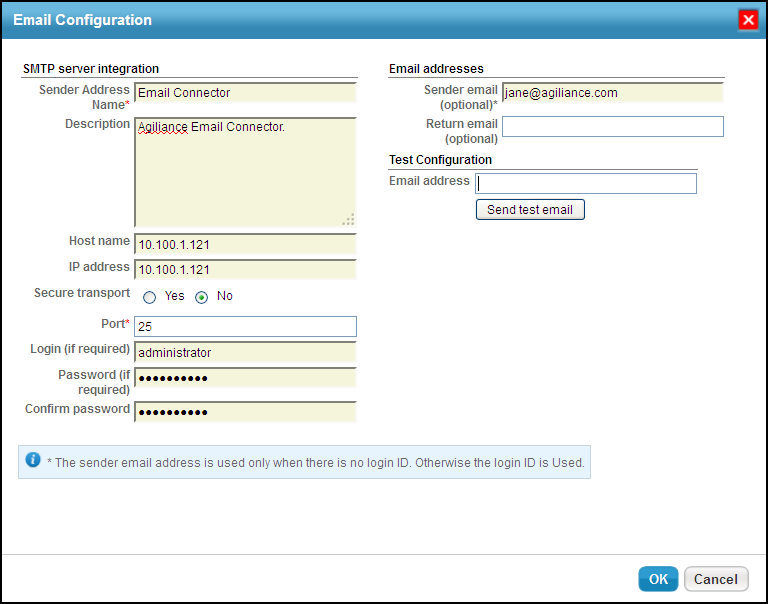
Enter the following fields:
Sender Address Name: Enter the sender's name you want to use to send email notifications.
- Description: Any additional information to help understand the use of the exchange server.
- Host Name: Enter the fully qualified Domain Name of the SMTP host.
IP address: Enter the IP address of the SMTP host.
Secure transport: Choose Yes or No.
Port: Enter the SMTP listening port (default value is 25).
Login (if required): Enter the username for SMTP service if the service requires authentication. By default, the email configuration uses the Login ID entered here to send out notifications.
Password (if required): Enter the password, if the SMTP service requires authentication.
Confirm password: Enter the password again for confirmation.
Sender email (optional): Enter an email address you want to use to send email notifications, rather than using the Login ID.
Return email (optional): Enter the email address where you want to receive email replies.
- To test the configuration, enter a valid email Id in the Email Address field, then click Send test email. If the configuration entered is correct, you will receive an email notification.
Click OK to save and exit the dialog.


